In today’s guide, you will be provided with a detailed, step-by-step procedure on how to effectively set up a tent, ensuring a seamless experience in the great outdoors. The video by NC State Parks covers everything from essential pre-camping preparations to the meticulous assembly of your tent, highlighting key components and techniques to guarantee a sturdy and weatherproof setup.
Prior to embarking on your camping adventure, learn the importance of securing your campsite reservation, gathering all necessary tent materials, and practicing the setup to avoid unexpected challenges. Following this, detailed instructions will guide you through every stage, from laying down the ground tarp to correctly positioning the rain fly, ensuring your camping experience is both enjoyable and stress-free.
Step-By-Step Guide: How to Set Up a Tent
Setting up a tent is an essential skill for any camper and can significantly impact your outdoor experience. This guide will provide you with a step-by-step approach to ensure a successful and hassle-free tent setup.


Pre-Arrival Preparation
Reserving Your Campsite
Your camping trip begins long before you arrive at the campsite. The first step is to reserve your campsite, either through an online service or by contacting the campsite directly. Ensuring you have a designated spot to pitch your tent avoids unnecessary stress when you arrive, particularly during peak camping season. Check the specific amenities and regulations of the campsite to make sure it meets your needs.
Ensuring All Equipment is Packed
An incomplete gear list can turn a pleasant camping trip into a frustrating ordeal. Create a comprehensive checklist of all your camping equipment a few days before your trip. This includes, but is not limited to, your tent parts, stakes, poles, ground tarp, rain fly, sleeping bags, and a mallet. Confirm that everything on your list is accounted for and in good working condition. Double-checking your equipment ensures you won’t be caught off guard when you start setting up your tent.
Practicing Tent Assembly at Home
The worst time to figure out how to set up your tent is during inclement weather or in fading daylight. Practicing tent assembly at home will provide you with a clear understanding of the process and identify any missing or damaged components. Set up your tent at least once at home, paying attention to the instructions and ensuring you are comfortable with each step.
Gathering Your Materials
Tent Body
The tent body is the main part of your tent, forming the structure and living space. Make sure it is clean and free from any tears or damage before your trip.
Tent Poles
Tent poles provide the necessary framework for your tent. They are often segmented and connected by an elastic cord, which allows them to fold up for storage and easily expand during setup. Verify that you have all the pole segments and they fit together correctly.
Rain Fly
The rain fly is a water-resistant cover that fits over your tent to protect it from rain and moisture. Ensure that it matches your tent model and is free from any holes or tears.
Ground Tarp or Footprint
A ground tarp, also known as a footprint, is laid underneath your tent to provide an additional layer of protection against dirt, moisture, and abrasions. It can extend the life of your tent’s floor and improve waterproofing.
Tent Stakes
Tent stakes are used to secure your tent to the ground. They help maintain the structure’s stability, especially in windy conditions. Count your stakes to ensure you have enough for both the tent and the rain fly.
Selecting a Suitable Campsite
Choosing Level Ground
When selecting your campsite, look for a flat, level area to pitch your tent. A level ground ensures better sleeping comfort and stability for your tent. Avoid setting up on slopes where you could slide during the night or where water could pool during rain.
Clearing the Area of Debris
Before laying down your tent, clear the chosen area of any sharp objects such as rocks, sticks, and pinecones. These can damage your tent’s floor and create an uncomfortable sleeping surface.
Checking for Overhead Hazards
Inspect the overhead area for any potential hazards like falling branches, loose rocks, or other debris that could fall onto your tent. Setting up your tent away from these dangers enhances safety and peace of mind.
Laying the Ground Tarp
Positioning the Tarp with the Shiny Side Up
Most ground tarps have a shiny, water-resistant side which should be facing up. This side will be in contact with the bottom of your tent, helping to keep moisture from seeping through.
Matching Tarp Tabs with Tent Tabs
Some ground tarps have tabs or loops that align with the tabs on your tent. Matching these tabs ensures the tarp is correctly positioned and provides comprehensive coverage underneath your tent.
Positioning the Tent Body
Laying the Tent Body on Top of the Tarp
Once your tarp is set, lay the tent body directly over it. Spread it out so that it’s centered and covers the entire surface of the tarp.
Aligning the Tent Doors Correctly
Align the tent doors in the direction you prefer, ensuring easy access and optimal airflow. For instance, you may want the door facing away from prevailing winds or towards a scenic view.
Assembling the Tent Poles
Connecting Tent Poles Together
Unfold and connect all necessary tent poles. Most poles are connected with an elastic cord that helps them snap into place. Ensure that all sections are securely connected to form complete poles.
Identifying Different Pole Sections
Identify any different pole sections as indicated by color coding or markers in the assembly instructions. This will help you understand where each pole fits in the tent’s structure.
Attaching Tent Poles to the Tent Body
Inserting Tent Poles through Sleeves
If your tent uses sleeves for the poles, slide the poles through these sleeves, taking care to keep the poles straight and avoid snagging.
Clipping Tent Poles to the Tent Body
For tents with clips, attach the clips to the tent poles. This method is often quicker and easier than using sleeves, allowing for a faster setup process.
Securing Poles in Tent Grommets
Place the ends of the tent poles into the designated grommets on the tent body. These grommets are reinforced openings designed to hold the poles securely in place and support the structure of the tent.
Securing Additional Tent Poles
Understanding Optional Support Poles
Some tents come with additional support poles that provide extra stability or create additional living space such as vestibules. Understand their purpose and placement by referring to the tent’s instruction manual.
Properly Positioning the Extra Poles
Ensure that any additional poles are correctly positioned according to the instructions. They should be securely fastened in their grommets or clips to enhance the tent’s stability and structural integrity.
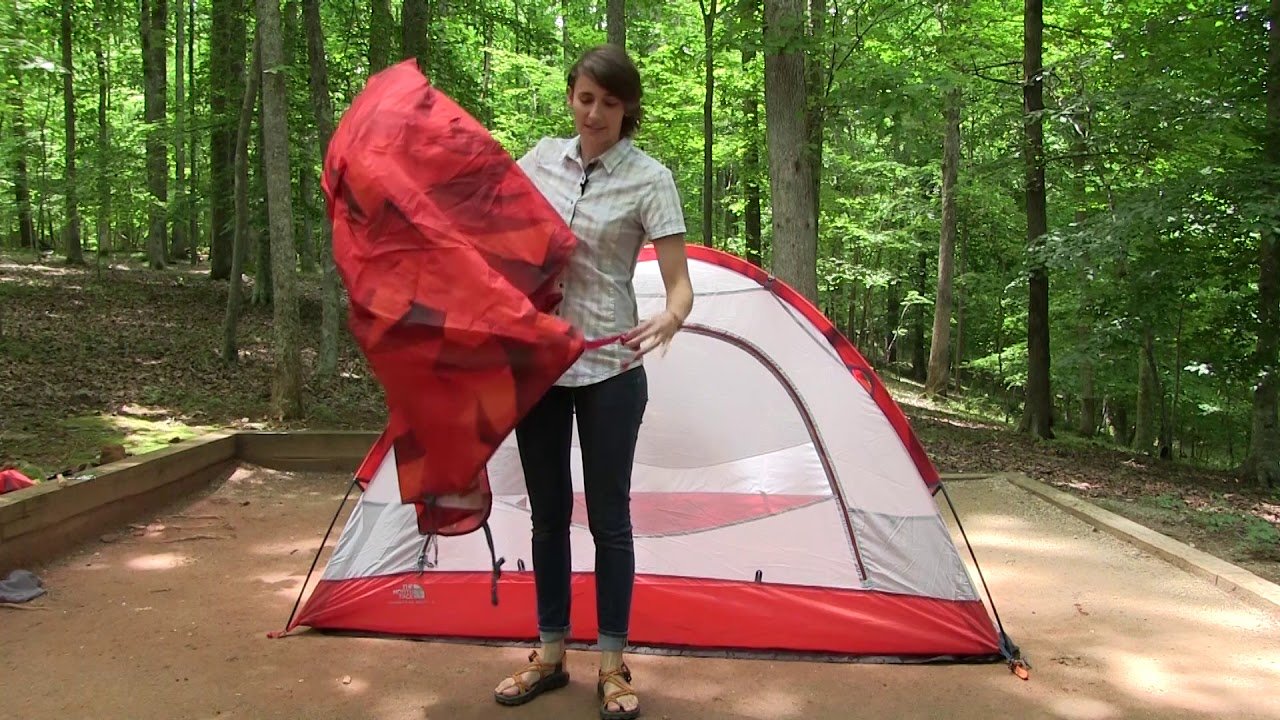
Installing the Rain Fly
Positioning the Rain Fly Correctly
Drape the rain fly over your tent, making sure that it is properly aligned. The doors and vent openings on the fly should correspond with those on your tent body.
Attaching Rain Fly to Tent Grommets
Attach the rain fly to the tent using the designated grommets or clips. This will typically involve fastening the corners of the fly to the same points on the tent body where the poles are secured.
Leaving Rain Fly Loose Initially
Leave the rain fly loose initially so you can adjust it as necessary. Ensuring it is loosely draped allows for minor adjustments to achieve the perfect fit before securing it tightly.
Conclusion
Review Steps for Tent Setup
By following this comprehensive guide, you ensure that every step of your tent setup process is executed efficiently and correctly. Each step, from pre-arrival preparation to installing the rain fly, is designed to enhance your camping experience.
Tips for Maintaining Tent Longevity
Maintaining your tent extends its lifespan and improves your camping experiences. Clean your tent and rain fly before storing them, repair any damage promptly, and store all components in a dry, cool place. Avoid prolonged exposure to sunlight, as UV rays can degrade the fabric.
Encouragement to Practice and Enjoy Camping
Setting up a tent becomes easier with practice. The more familiar you become with your equipment and the setup process, the more enjoyable and less stressful your camping trips will be. Take the time to practice at home and refine your technique, ensuring a smooth and enjoyable camping experience.
Now, you are well-equipped to set up your tent and enjoy the great outdoors with confidence. Happy camping!
Support us! Wilderness gear Pro may earn a small commission from affiliate links in this article. Learn More
